
WiseImage interface
WiseImage interface
After the WiseImage document has been opened you can see menu, toolbars, document window with layout tabs, UCS icon, cursor, status bar, command line and etc.
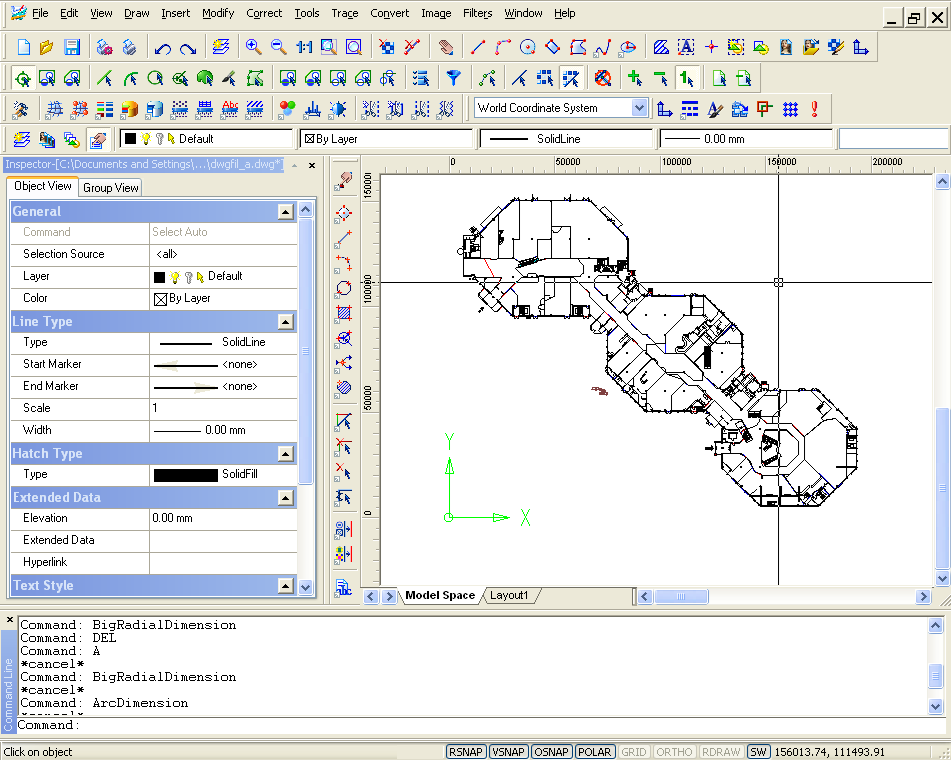
Document window
Document window shows opened document. If it is necessary, this window can be splitted on several parts. Different modes for image display can be set in each pane, in particular different scales. It may be useful, for example, when working on small details in large documents without losing the whole image.
You can open several documents in WiseImage and arrange them in the working area using the cascade, tile vertically and tile horizontally commands.
Layout tabs
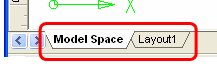
These tabs switch document layouts. Every document has at least one tab – Model Space. This is the space where plan creation is performed. A document that was prepared for printing contains other layout tabs.

Cursor
Displayed as crosshair with square aperture box. Cursor size and color can be altered in the Preferences dialog .
Menu Bar
Placed below the caption of an application window and includes drop-down lists of WiseImage commands.
User Coordinate System icon (UCS icon)
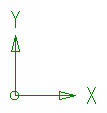
Displayed at a point 0,0 of current coordinate system. Can be turned OFF by using the Show UCS icon. command.
Command Line
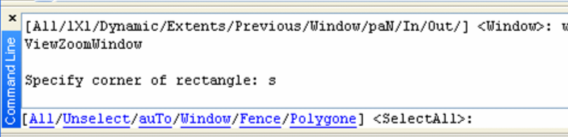
The Command Line is the interactive text window from where WiseImage commands can be called and processed. It uses for commands entering and for command prompts displaying. To hide or show Command Line use the Show Command Line command from the View menu.
Status Bar

Status bar is the lowest panel in WiseImage application window. It displays command tips (the left part), indicator of program activity, cursor coordinates (the right part), and following buttons:
• Raster (RSNAP), vector (VSNAP), object tracking (OSNAP) and polar (POLAR) snap modes.
• Grid and snap to grid mode (GRID).
• Ortho mode (ORTHO) to draw lines with fixed angles.
• Raster Draw mode (RDRAW) that automatically rasterizes created object on underlying raster image.
• Show width of lines of all objects in the document (SW).
• Show hatches and filling of all objects in the document (SH).
“Life” indicator shows the program activity. It is useful when starting a long operation and to see if it is being performed.
Snap buttons that set snap modes and grid usage are described on page (Snaps and Grids).
The ORTHO and RDRAW buttons toggle special drawing modes that are described on page (Ortho mode) and (Switch drawing raster mode on/off) respectively.
To show/hide the Status Bar use the Show Status Bar command.
Toolbars
The toolbars can be moved with the mouse anywhere on the screen with the capability of transparency control.
Every button on the toolbars is intended to start a certain command. If you move cursor to the icon, the name of a command will appear.
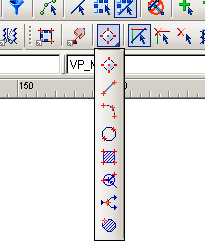
On some toolbars the commands are joined into the groups. You can see only one button from each group. Such buttons have small black arrow in the lower right corner.
To unfold enclosed toolbar it is necessary to click toolbar button and hold the mouse button pressed. Holding the left mouse button, move the cursor to another command of this group and then release the mouse button. As a result the chosen command will be started.
To show / hide toolbars choose the appropriate item from the View menu > Show Toolbar or right-click on any toolbar, or use keywords, which are shown in the View > Show Toolbar menu.
The toolbars are customised in the Tools > Customise dialog. Show or hide the toolbars in the list opened by right clicking on tool buttons or by choosing Show Toolbars from the View menu.
To make a toolbar or dialog transparent, move the cursor onto the desired one and then right-click with the CTRL pressed. When the Window Transparency dialog is displayed, use the slider to set this parameter.
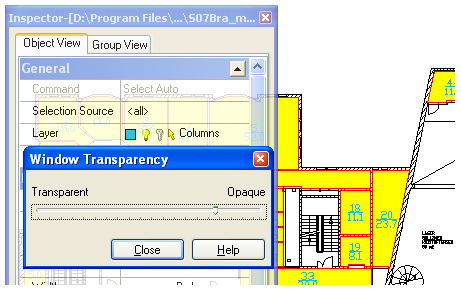
The Object Properties toolbar contains buttons and edit boxes. There are four buttons on the left of the toolbar – these open the most important WiseImage dialogs: Layer Manager, Image Manager, Block Manager and Inspector. Layer Manager controls layers and their properties. Image Manager controls image visibility and accessibility. The Block Manager controls block usage. The Inspector window lets the user see and modify the properties of commands and objects.
In the middle of the toolbar there are tools that allow fast modification of selected objects. The list and two buttons on the right are the components of Named Views.
WiseImage shows the Inspector window and some other dialogs in a docked position. These can be changed to
floating if needed by double clicking on the title bar or by dragging window with the Ctrl button pressed.
Post your comment on this topic.