
Creating new image from vector and raster selection
Rasterization converts vector objects to raster objects, and the obtained raster is inserted into raster images.
There are two ways to rasterized data in WiseImage:
The first is to rasterized vectors by Merge or Merge a Copy commands from the Modify menu – see” Merge (Rasterize)”:https://csoft.com/wiseimage-for-autocad/wisimage.for.autocad/en/topic/merge-rasterize.
The second is to make a new image using New Raster from Selection command from the Draw menu. This way is more powerful. A newly created image includes all the objects included in the selection.
The selection may include:
1. raster images;
2. raster selection;
3. vector objects.
To insert a new image from a selection
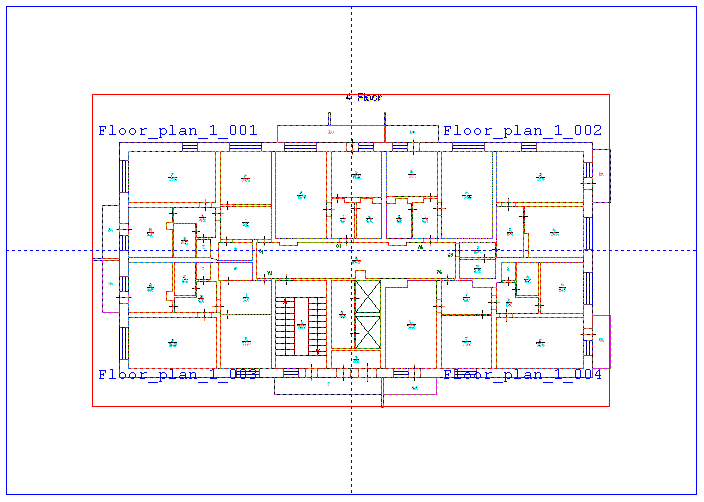
1. Create a set of objects to rasterize. If pre-selection is absent, this command applies to all data in the document.
Selection can be performed during the New Image from Selection dialog is opened
2. Choose New Image from Selection command from the Insert menu or press the  button on the Draw toolbar.
3. If source images are exist and have different colors or resolution, then properties of destination image have to be specified:
Color Space – choose destination image color space from the list;
DPI – select resolution;

Width and Height – set a value for a new image or select a standard format in the By Paper field;
Initial color – define a background color for a color image;
Portrait or Landscape – select orientation of destination image.
4. Set the scale:
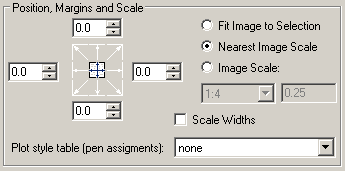
Fit Image to Selection – scales the image to fit the paper of specified format;
Nearest Image Scale – scales source selection to the gratest possible size that fits specified paper format;
Image Scale – enter scale index for destination image or select it from the list.
To place the image relative to format boundaries, enter margin value in the fields of Position, Margins and Scale section. The margin value can be more or equal to 0.
If the image is smaller than a page of the specified format, you can set alignment to a paper side. Click an arrow displaying required alignment type.
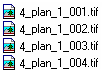
If the scale is set manually, rasterization can be processed on several papers.
The results will be saved in separate files with adding page numbers to the tail of the file name.
Plot style table allows you to change a color and line width of objects on destination image.
For more information on Plot style table see description of the Print Options dialog (chapter “Setting Printing Parameters” on Printing).
5. Set saving parameters for destination image(s):
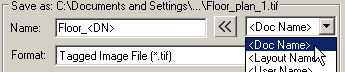
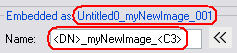
Name – Set file name for destination raster image(s).
You can use macros to set mask for the raster image name. To insert macros in the Name field select an appropriate one from the drop-down list and click the  button. You can also type it mannually. The decripted name is displayed in the caption of the Save As section:
Macros are very useful for batch rasterization through scripts when several raster images should be created.
Format – set the way of storing the image:
• Embedded Image – store destination image in a document file.
• Otherwise destination image will be saved in a separate file(s) of a selected format.
Folder – set the folder to save the image. If Current Document Folder is selected, image(s) is saved in the folder of the current document. A drop-down box contains five previously specified folders.

Mode – define a way of saving and removing vector data after rasterization.
Insert Image – this checkbox inserts destination image, stored in a separate file, in current document. If Embedded Image file format is selected, this checkbox is blocked and switched on by default.
To process rasterization without changing current document, switch off this checkbox and choose Keep Vectors after Rasterizing.
Press OK.
If a name for a new raster has not been specified, it will be New_(N), where N – an index number.
Post your comment on this topic.