
Entire Image selection
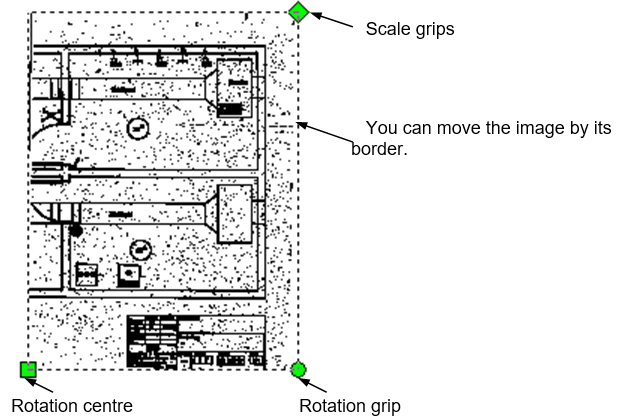
The image frame and grips of a raster image allows user to move, scale and rotate it in a similar way to processing a vector object. The frame shows also extensions of the raster image.
In Vector selection mode (the  button) the user can select an image by picking its border with the mouse. The border becomes dashed and grips are shown; the user can move, rotate, and scale an image using these grips.
The border is a special object created by WiseImage to facilitate image handling; it is created when opening but not saved with the image in file.
To select several images, use the Image Selector dialog.
To select a raster image
1. Turn on the Vector selection mode.
2. Click on the image border. The grips will indicate that an image is selected.
If an image is selected entirely in the Raster selection mode, then all its contents will be highlighted in colour and with a dasher border. For many operations both methods give the same result, however it is recommended for a beginner to use the first of the described methods.
Selecting an area on the document in Vector selection mode selects vector objects, but not images, encompassed by selection.
To select several raster images
Open the Image selection dialog, pressing the  button.
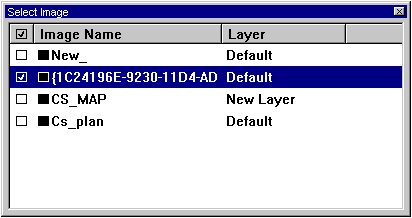
Moving the mouse on the screen, click on the images to be included in the selection set. Checkmarks will appear next to their names; these can also be turned on or off in the dialog manually. The Image Name field contains the logical name of image (or automatically created identifier if the image was created by WiseImage) and the Layer shows which layer the image belongs to.
Post your comment on this topic.